Installing and Configuring Ubuntu Server 18.04 LTS
Installing and Configuring Ubuntu Server 18.04 LTS
For the purposes of this walk through, I am installing and configuring Ubuntu Server 18.04 LTS inside a vSphere 6.7 virtual machine inside my home lab cluster environment. I accepted the defaults on creating a new virtual machine inside of vSphere, including the basic disk, memory, CPU, and other footprint.
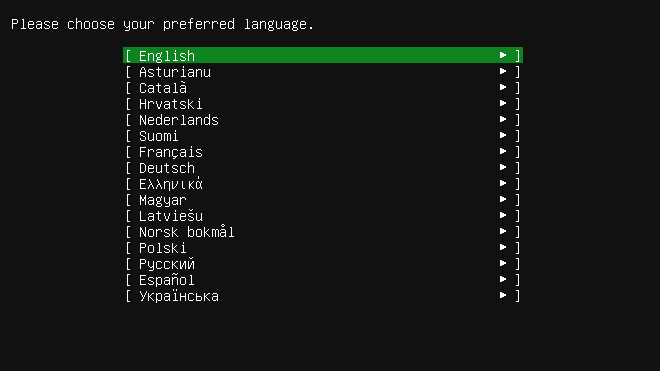
Installing and Configuring Ubuntu Server 18.04 LTS – choosing language
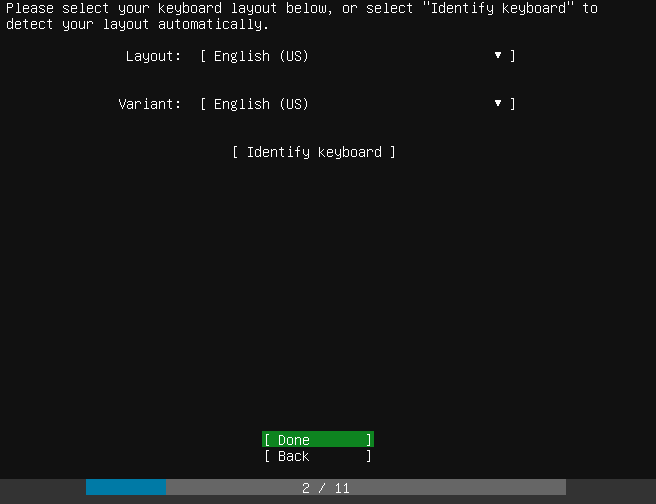
Installing and Configuring Ubuntu Server 18.04 LTS – choosing keyboard layout
On the type of installer you can select the following:
- Install Ubuntu
- Install MAAS bare-metal cloud (region)
- Install MAAS bare-metal cloud (rack)
What is MAAS? MAAS is Metal As A Service that lets you essentially treat physical servers like virtual machines in teh cloud. Rather than have to manage each server individually, MAAS allow you to manage the bare metal servers as elastic cloud-like resources. This has several advantages such as quickly provisioning and destroying instances as you would in the public cloud like AWS, GCE, and Azure.
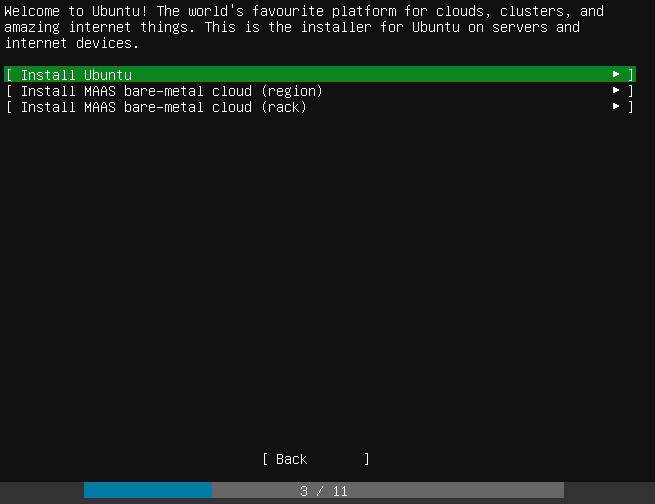
Choosing the type of installation when installing and configuring Ubuntu Server 18.04 LTS
Next is the network configuration. Here you can choose the configuration of the network connection and even create network bonds.
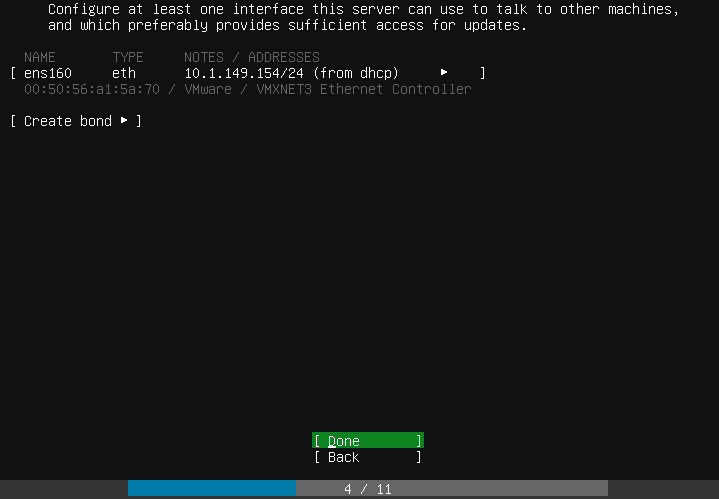
Configuring the network settings when installing and configuring Ubuntu Server 18.04 LTS
The proxy server address allows configuring the proxy address if your environment requires this for Internet access.
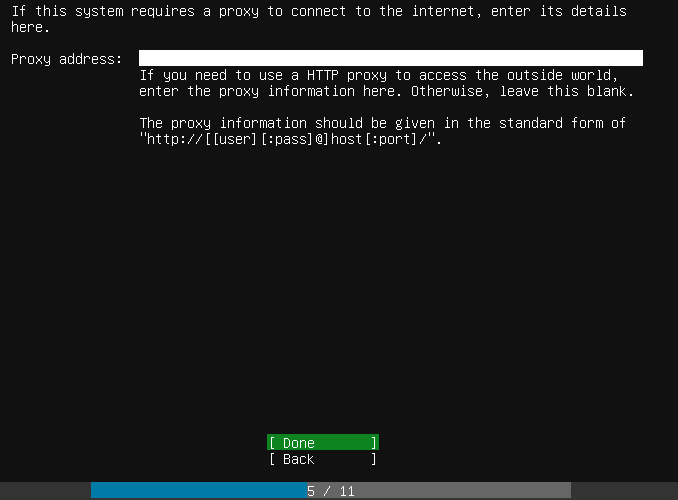
Configuring a proxy server address when installing and configuring Ubuntu Server 18.04 LTS
The default mirror addrress is displayed below and for most will work.
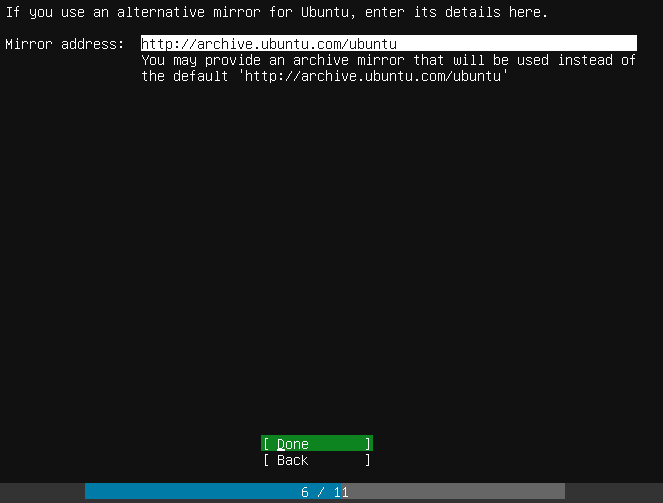
Choosing the mirror server address during the installation of Ubuntu Server 18.04 LTS
You can choose to change the partitioning mechanism and settings on the partitioning screen.
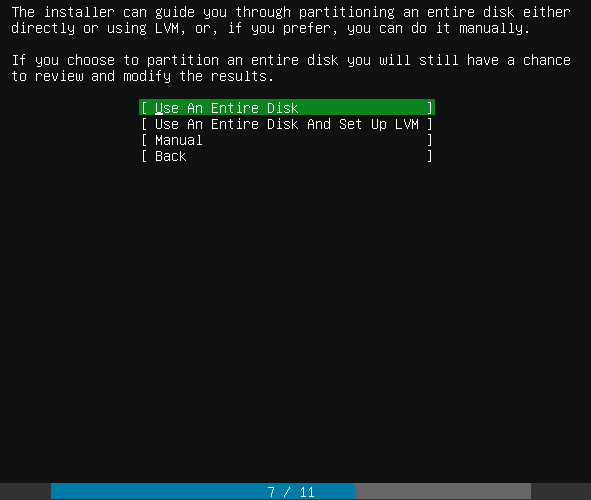
Selecting disk partitioning options during Ubuntu Server 18.04 LTS installation and configuration
Choose the disk to install Ubuntu Server 18.04 LTS.
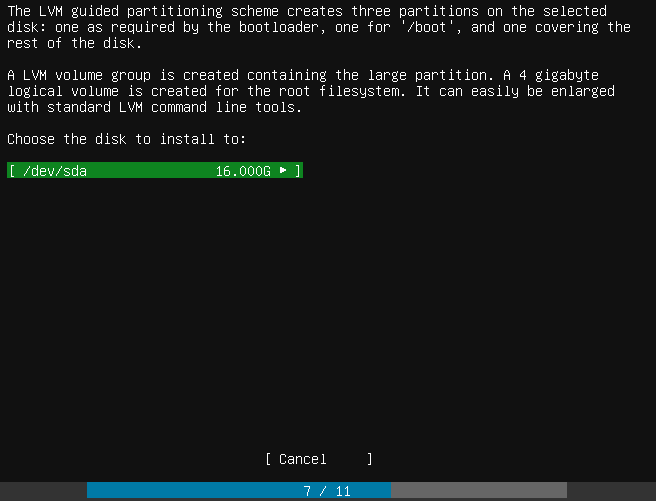
LVM Guided partitioning scheme configuration
Finalize the boot partition layout on the disk.

Finalizing the boot partition layout to write to disk
The installer will display a stern warning regarding changes being written to disk and if you are sure you want to destroy the partitions that currently exist.
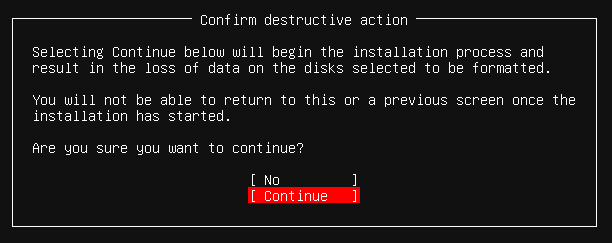
Confirming the writing of the partition scheme to disk in Ubuntu Server 18.04 LTS
You will be prompted to setup a new user account and configure the Ubuntu Server 18.04 LTS server name.
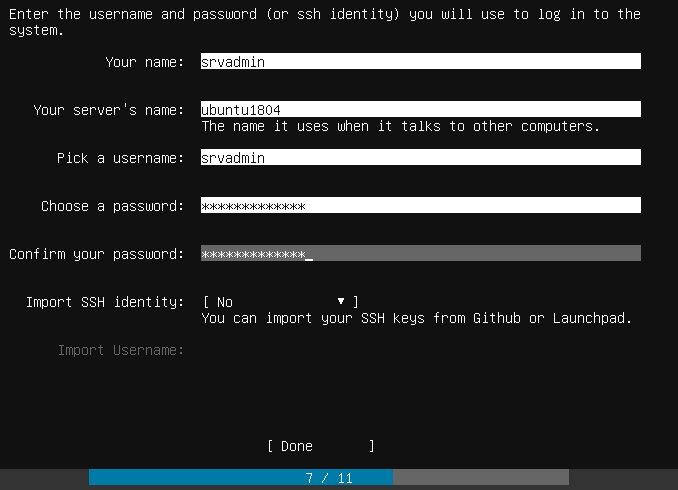
Setting up user credentials during installing and configuring Ubuntu Server 18.04 LTS
Additionally, there are common “snaps” that you can install during the installation process if you want to add those during the server installation. These include docker, amazon-ssm-agent, google-cloud-sdk, doctl, etc.
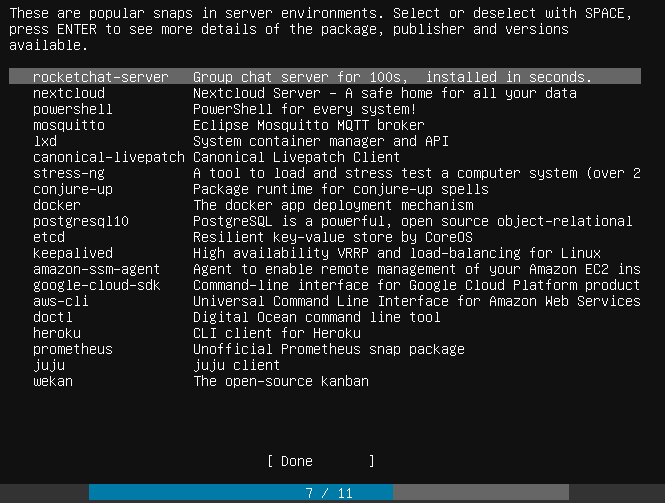
Selecting popular SNAPS to install during Ubuntu Server 18.04 Installation and Configuration
Installation of Ubuntu Server 18.04 LTS begins.
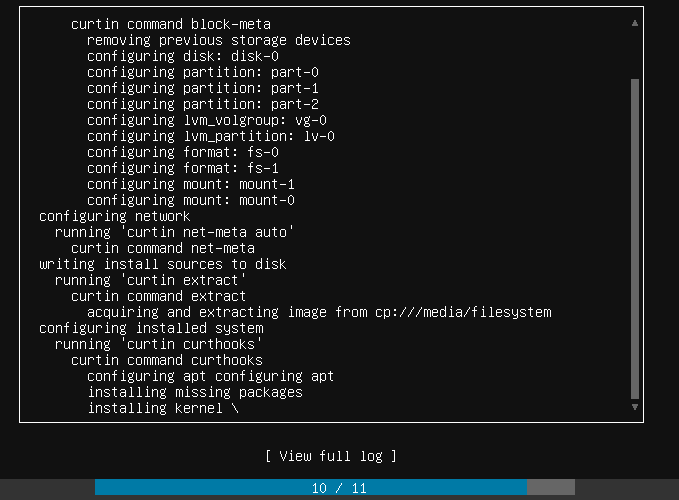
Ubuntu Server 18.04 LTS installation begins
Installation finishes and you are prompted to remove your installation media and reboot.
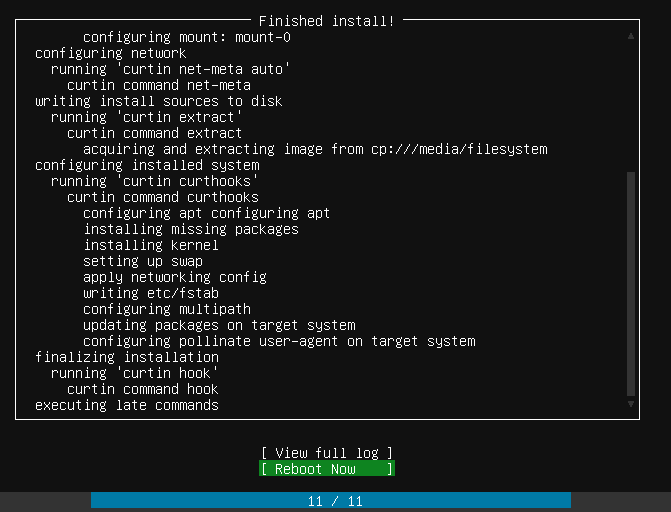
Rebooting Ubuntu Server 18.04 LTS installation after it finishes
The server should successfully reboot to the Ubuntu 18.04 login screen.
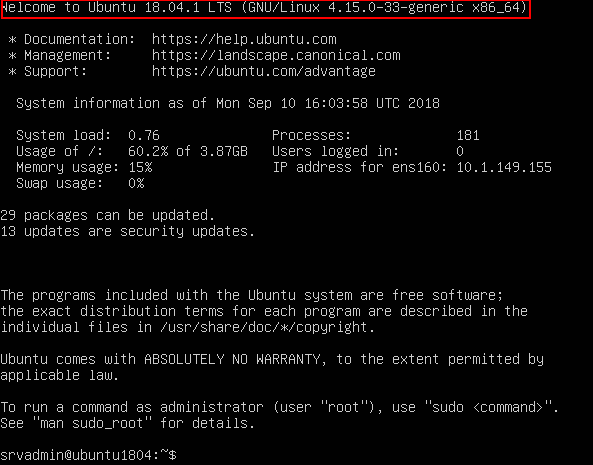
Ubuntu Server 18.04 LTS installation successfully boots to login prompt
There are a few management and configuration tasks that I like to do right from the start such as updating the Ubuntu installation and enabling SSH connections and for me in the home lab – removing cloud-init. First to update the installation this is easily accomplished with a one liner cmd from the Ubuntu shell.
sudo apt-get update && sudo apt-get upgrade
Next, to enable SSH connections, this is a simple matter of uncommenting out the Port 22 directive in the sshd_config file found at /etc/ssh. Simply edit it and save the file, then restart SSH:
- service ssh restart
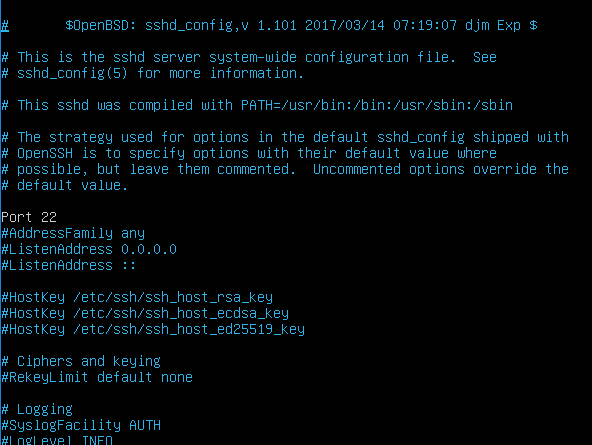
Editing the SSHD_CONFIG file in Ubuntu Server 18.04 LTS to enable SSH connections
To remove cloud-init, I found a good blog post that steps through how to effectively remove this from Ubuntu Server 18.04.